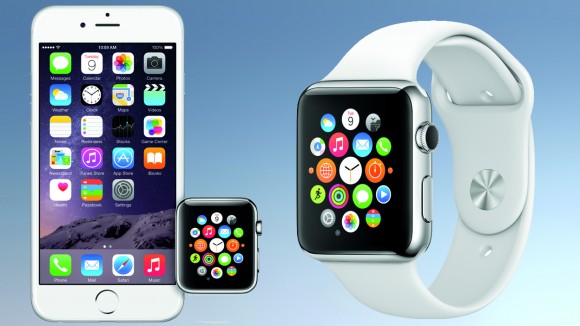
Now you can easily transfer or sync iPhone images to your Apple Watch with the help of below tutorial. So, no need to refer your iPhone every time whenever you want to recollect your memories. Just syncing the iPhone pictures with Smart Watch allows to move the pictures right to the Apple Watch. Though the experience of viewing the photos will be not same as in the iPhone, but it is good with something rather than nothing.
As the transfer of photos process is done via Bluetooth, it will takes more time if the Album which is to be sync is really big. So, without much wasting of your time, let’s start the procedure on how to transfer iPhone photos to Apple Watch.

How to Sync iPhone Photos to Your Apple Watch:
Step 1: Pair your Smartwatch and open the Watch application on your iPhone from the home screen.
Step 2: After launching the app, go to ‘My Watch’ and there find the ‘Photos’ options and tap on it.
Step 3: Now you need to choose ‘Synced album’ option under ‘PHOTO SYNCING’ category.
Step 4: Now you need to select the Album which you want to move to the Apple Watch.
Step 5: That’s it! The Syncing process will starts. If your Album contains large number of photos then it might take longer period of time. So be patient and wait till the sync process is completed.
Congrats! Now all the photos contained in the selected Album will be displaced on your Apple Watch. The image quality and size will be reduced compared to that of iPhone. Now you can share the image directly from the Apple watch and can also be applied as Watch Face.
Did the above guide was useful? Let us know by leaving a comment below.


