
Check in here how to Root Android L Developer Preview on Nexus 5 and Nexus 7 2013 (Wi-Fi) devices – How To Guide
Google has released the Android L Developer Preview at the Google I/O event which was held at San Francisco. It also released the Android L Developer Preview factory images for the Nexus 5 and Nexus 7 devices, we already covered on how to install them on your Nexus 5 and Nexus 7 devices, if you haven’t had a look at it then go here. If you are a Non Nexus user then customize your Android devices using Android L Wallpapers, Ringtones, Apps etc., from here.
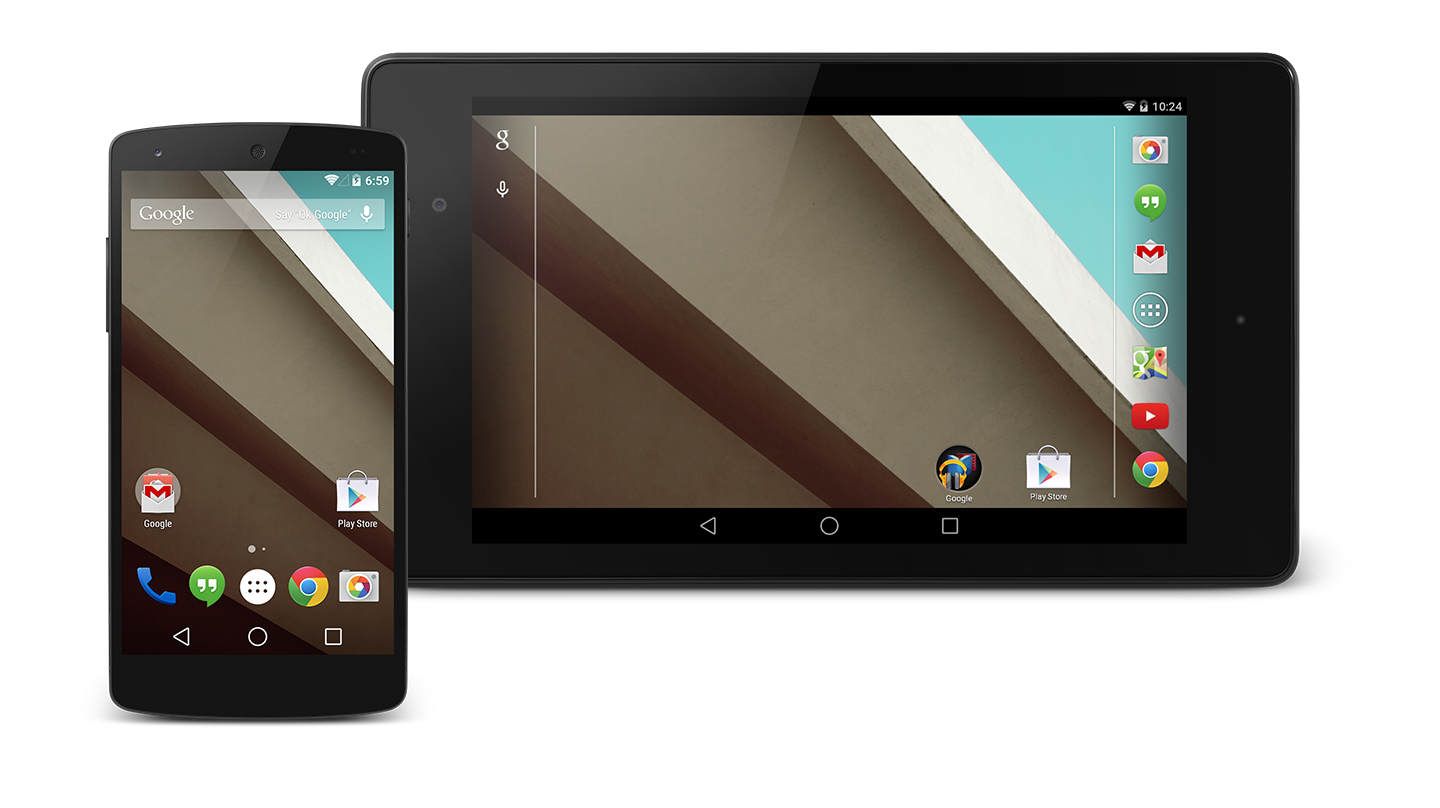
Once you are done with the installation of Android L on your Nexus device, you might want to gain root access so that you can have a look at the system files, apps, data etc. so if you really want to root your Nexus 5 or Nexus & running on Android L, then you can follow the below procedure on how to Root Android L Developer Preview on Nexus 5 and Nexus 7 devices.
Before proceeding to Root Android L Developer Preview on Nexus 5 or Nexus 7, let’s have a look at some of the pre requisites to follow, in order to prepare your device for rooting.
Pre-Requisites:
- Make a backup of all of your device data, so that we can restore it in case we have accidently deleted it.
- Enable USB Debugging on your device from the Developers Options, usually located under Settings app.
- Charge your device to at least 75% to avoid bricking of your device and is highly recommended.
- Download and install the USB Drivers for your mobile on PC. Download here.
- Setup ADB and Fastboot Drivers on your PC. How? Follow here.
- Download the latest version of CWM or TWRP Recovery image file for your device and rename it as recovery.img
[box type=”download” ]
[/box]
- Download the modified SuperSU flashable zip : SuperSU-Android-L.zip
- Download savoca’s modified boot image for your device from the below links:
[box type=”download” ]
Nexus 5: boot.zip
Nexus 7 2013: boot.zip
[/box]
Assuming that you are done with all the above listed pre requisites, let’s now proceed to Root Android L Developer Preview on Nexus 5 or Nexus 7.
Disclaimer: We should not be held liable or responsible in any manner for any damage occurred to your device for not following the instructions properly. So understand the risk involved and proceed further.
Procedure to Root Android L Developer Preview on Nexus 5 or Nexus 7:
- Copy the TWRP / CWM Recovery file to Fastboot folder on your PC.
- Connect your device to PC using OEM Data Cable.
- Now open the command prompt in Fastboot folder, by opening the Fastboot folder and pressing the Shift + Right Click anywhere at the empty space inside the Fastboot folder. Now select Open command window here.
- Now in CMD type: adb reboot bootloader.
- Once your device gets into Bootloader mode with Start written on the top of it, type the following command in CMD and press Enter: fastboot flash recovery recovery.img
- Once the CWM / TWRP Recovery is flashed issue command: fastboot reboot.
- Now your device will reboot into normal mode. Once it boots up copy the SuperSU.zip and Boot.zip files to your device’s SD card (make sure to copy the file at the root of your SD card, but not inside any folder).
- Now type the following command in CMD: adb reboot recovery.
- Now your device will reboot into Custom Recovery, depending upon which Custom Recovery you have installed.
- In recovery mode select Install zip from SD card or Install option and choose the SuperSU.zip file and install it.
- Now again select Install zip from SD card or Install and this time flash the Boot.zip file.
- Once done go back and select reboot system now this will reboot your device to normal mode.
- When it boots up you can look for SuperSU app in the app drawer.
- If you want to confirm whether your device is rooted successfully or not then you can take help of Root Checker App.
That’s all now you have successfully Root Android L Developer Preview on Nexus 5 or Nexus 7 2013 (Wi-Fi). If you face any queries, share with us in comment section.

