Sony has started rolling out the Android 4.4.3 Kitkat update for Xperia T2 Ultra D5303 with 19.1.1.A.0.165 Build Number. The Chanelog of the update states that the firmware packs Android KitKat 4.4.3 bringing all the latest enhancements, Optimized memory for smooth performance, Stability improvements, all of our latest bug fixes and improvements. The update is rolled out today and it might take some time to reach your region and if you can’t wait to update Xperia T2 Ultra D5303 to Android 4.4.3 Kitkat 19.1.1.A.0.165 firmware, then follow the below procedure.
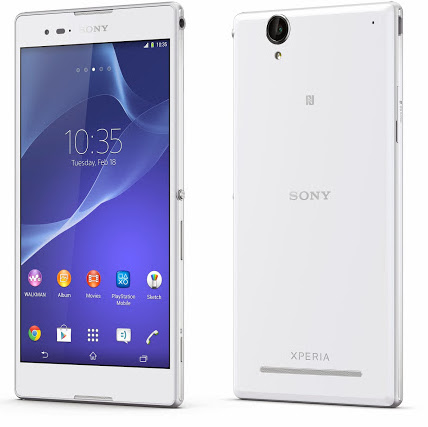
Xperia T2 Ultra D5303 received the Android 4.4.2 Kitkat firmware update in July this year and has now started receiving Android 4.4.3 Kitkat firmware and we may also expect to receive Android 4.4.4 Kitkat update. If you want to update Xperia T2 Ultra D5303 to Android 4.4.3 Kitkat firmware without following manual process then you have to use Sony PC Companion to do so.
Pre Requisites:
- Backup all of your data to a safe location, so that we can restore the data, if any data loss has been encountered, while updating your device.
- Charge your device to at least 75%, to avoid it from shutting down in between the update process, if it happens it may brick your device.
- Make sure USB Debugging is enabled on your device.
- Download and install USB drivers suitable for your device from here.
- Backup TA partition. How? Follow here.
- Setup Flashtool on your PC from here.
How to update Xperia T2 Ultra D5303 to Android 4.4.3 Kitkat 19.1.1.A.0.165 firmware:
1. Download the Android 4.4.3 Kitkat 19.1.1.A.0.165 firmware from the below links suitable for you.
D5303_19.1.1.A.0.165_Customized_RU.ftf
D5303_19.1.1.A.0.165_Customized_SG.ftf
2. Extract the boot.img from the ROM package and copy it in Fastboot Folder.
3. Now copy the whole ROM Package and Google Apps Package in zip formats to your device’s internal SD card. Make sure to copy it at the root of your SD card, but not inside any folder. Power off your device.
4. Now connect your device to PC while holding the Menu button. To do so firstly connect the USB Cable to the PC, now hold down the Menu key and connect it to other side of the cable. Now the colour of LED turns Blue.
5. Now open CMD inside Fastboot folder. To do so Open the Fastboot folder and press and hold Shift Key and Right Click anywhere at the empty space inside the Fastboot folder. Now from the Options select Open command window here.
6. Now in CMD type: fastboot flash boot boot.img and press enter.
7. It will flash the boot.img to your device and might take some time.
8. Now in CMD type: fastboot reboot and press enter.
9. Now when your device is booting up, press power button or Volume Up/Down to enter into recovery mode.
10. Now in recovery mode select “Install zip from SD card” and choose the ROM package and install it. Now in the same way install the Google Apps package.
11. Now in recovery select actions to wipe cache and dalvik cache and data and perform the operations.
12. Once done select “reboot system now”, this will boot your device in normal mode.