Android L was previewed just few days ago at the Google I/O 2014 event which is held at San Francisco. Android L which was previewed to show what’s new coming in the next version’s of Android. Currently Android L is released as developer preview for those who won’t to experiment with Android. It is also made available for Nexus 5 and Nexus 7 2013 Editions in the form of Factory images.
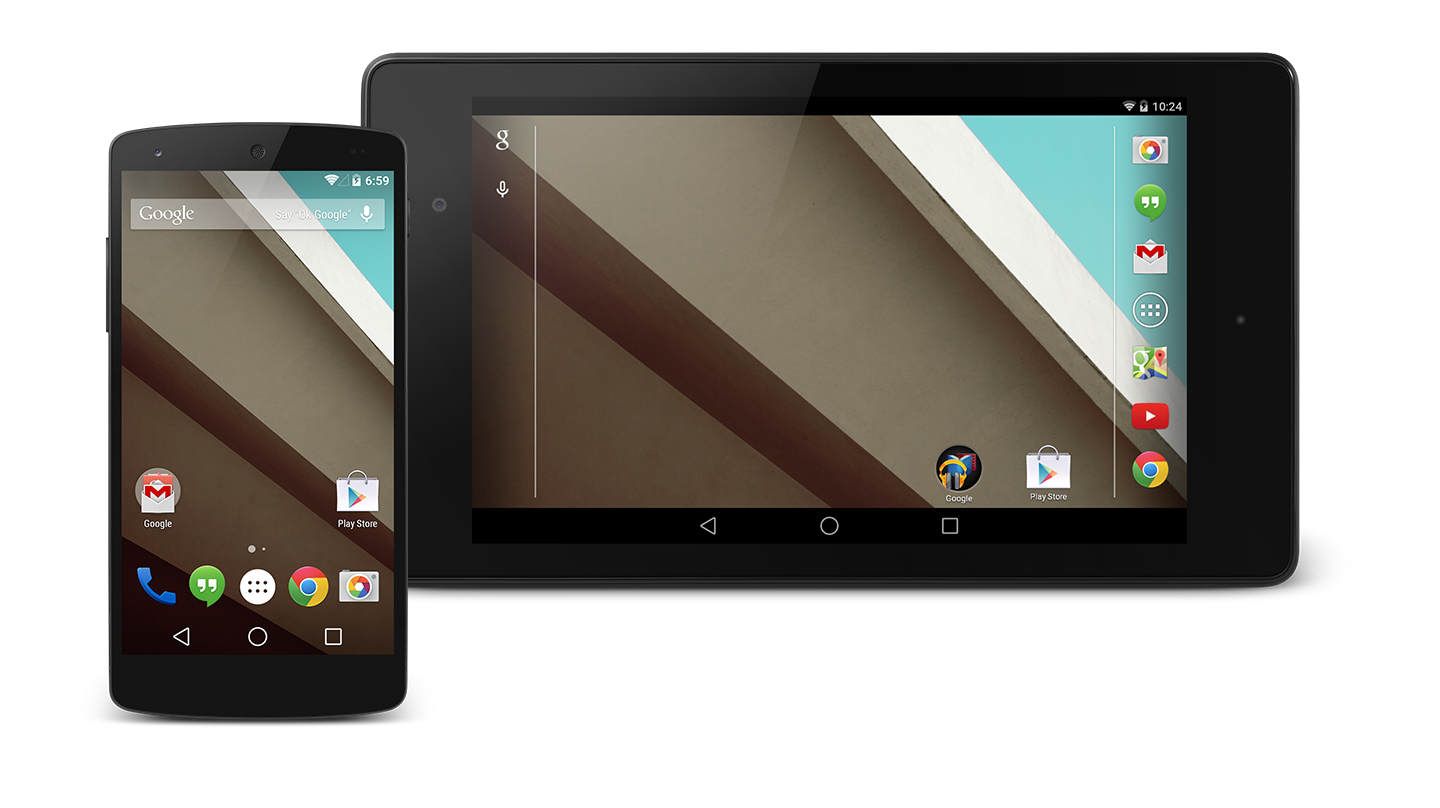
So if you are a developer or just tech enthusiasts who want to experiment with the tech around it or Android can install this Android L Preview on your Nexus 5 and Nexus 7 and experience it on your Nexus device. The Android L which was previewed at the Google I/O 2014 event is more appealing. It has completely fresh Interface known as Material Design and many more, you can check more about it here.
So if you are ready to install this Android L on your Nexus 5 or Nexus 7, then follow the below guide, but before proceeding let’s have a quick look at some of the prerequisites, to avoid bricking of your device.
Pre Requisites:
- Make a complete backup of all your data including SMS, Contacts, etc., make sure to backup everything as we are going to flash the Android L on your device which will erase all of your data.
- Enable USB debugging on your device from the path “Settings > Developer Options > USB Debugging”.
- Charge your device to at least 80%, to avoid bricking of your device and is highly recommended.
- Unlock the bootloader on your device. For Nexus 5 go here and for Nexus 7 go here.
- Setup ADB and Fastboot Drivers on your PC. Follow the guide here.
- Download the Install the Suitable USB drivers for your device. Download from here.
Procedure to Install Android L Preview on Nexus 5 and Nexus 7 Android devices:
- Download the suitable Android L Preview Factory Image for your device from the below links:
Nexus 5: hammerhead-lpv79-preview-ac1d8a8e.tgz
Nexus 7: razor-lpv79-preview-d0ddf8ce.tgz
- Extract the downloaded Factory image, now you will get folder named hammerhead-Ipv79 for Nexus 5 and razor-Ipv79 for Nexus 7.
- Connect your device to PC using OEM Data Cable.
- Now open the folder which we got after extracting the Factory Image and press and hold Shift Key and Right Click anywhere on the empty space inside the folder and select Open Command Window here.
- Now enter the following commands in the CMD prompt which you got and press enter after each command.
- Now boot your device into Bootloader or Fastboot mode by entering the following command:
[box type=”shadow”] adb reboot bootloader [/box]
- Confirm whether your device is connected to PC successfully or not by entering the following command; If an ID is displayed then it means that your device is successfully connected.
[box type=”shadow”] fastboot devices [/box]
- Now wipe all the device partitions, to do so enter the following commands and press enter after each command.
[box type=”shadow”]
fastboot erase boot
fastboot erase recovery
fastboot erase userdata
fastboot erase system
fastboot erase cache
[/box]
- To flash Bootloader on your Nexus 5 device enter the command below:
[box type=”shadow”] fastboot flash bootloader bootloader-hammerhead-hhz11k.img [/box]
- To flash the Bootloader on your Nexus 7 device enter the following command:
[box type=”shadow”] fastboot flash bootloader bootloader-flo-flo-04.02.img [/box]
- Reboot the device to Bootloader or Fastboot mode, by issuing the below command:
[box type=”shadow”] fastboot reboot-bootloader [/box]
- Flash the radio on Nexus 5.
[box type=”shadow”] fastboot flash radio radio-hammerhead-m8974a-2.0.50.2.08.img [/box]
- Again boot the device to Bootloader.
[box type=”shadow”] fastboot reboot-bootloader [/box]
- Flash the Android L preview Factory Image on Nexus 5.
[box type=”shadow”] fastboot -w update image-hammerhead-lpv79.zip [/box]
- Flash the Android L preview Factory Image on Nexus 7.
[box type=”shadow”] fastboot -w update image-razor-lpv79.zip [/box]
The above process may take some time, so sit back and wait until it finishes its job. Once flash you will be notified and you can disconnect your device and reboot it. Now you will be able to experience the Android L on your Nexus 5 or Nexus 7. Do let us know your experience about Android L in the comment section.

![How to Update Xperia T LT30p to Android 4.4.2 Kitkat firmware with CM 11 ROM [How To]](http://www.gadgetsacademy.com/wp-content/themes/spike/images/relthumb-200x166.png)