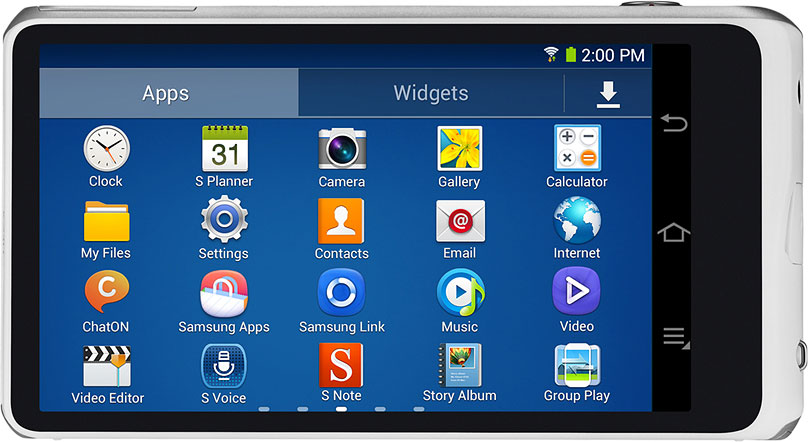
Galaxy Camera 2 EK-GC200 can now be rooted, so if you are looking for how to root Galaxy Camera 2 EK-GC200, then you can follow the procedure listed below. But before you proceed, better have a look at advantages and disadvantages of Rooting in Android here.
Pre-Requisites:
- Make sure your device is Galaxy Camera 2 with model no EK-GC200. Check in Settings > About.
- Backup all of your data to a safe location or on your PC. So that we can restore the data whenever we have encountered any data loss.
- Make sure USB Debugging on your device.
- Charge your device to at least 75%, so as to avoid Galaxy Camera 2 EK-GC200 from shutting down in between the rooting process
- Backup your mobile EFS data from here.
- Download and install USB Drivers suitable for your device on PC from here.
- Make sure all the Samsung PC Suits like Kies are killed on your PC, while using Odin.
Disclaimer: We should not be held responsible or liable for any damage occurred to your Galaxy Camera 2 EK-GC200 for not following the instructions properly. So understand the risk involved and proceed at your risk.
How to Root Galaxy Camera 2 EK-GC200:
1. Download Odin Software on your PC from here.
2. Download the Rooting Package from here to your PC.
3. Run Odin as administrator on your PC.
4. Power off Galaxy Camera 2 EK-GC200.
5. Enter into Download Mode by pressing “Zoom Left + Power button” simultaneously until you see warning message on your screen. Now press Zoom Right as written in the warning message to enter into Download Mode.
6. Connect Galaxy Camera 2 EK-GC200 to PC using original USB Data cable, while the device is still in Download Mode.
7. Now you will see that the ID:COM box in Odin will turn blue and an “Added” message will appear in Odin.
8. In Odin click on ‘PDA’ or ‘AP’ and select the Rooting Package (CF-Auto-Root.tar).
9. Make sure only Auto reboot and F.Reset Time option are checked in Odin and remaining all options are un-checked.
10. Once you are done with all the above listed steps, click on Start, this will start flashing the Rooting package on Galaxy Camera 2 EK-GC200.
11. Once done, your device will reboot automatically, wait for your device to boot up successfully. Keep in mind that the first boot may take up to 5-6 minutes, so please be patience.
12. Once the device boots up, look for SuperSU app in the app drawer. You can also confirm Root permissions on your device by using Root Checker App.
That’s all now you have successfully Root Galaxy Camera 2 EK-GC200. Do let us know in the comment section if you face any issues while trying to Root Galaxy Camera 2 EK-GC200.


